


If you have searched how to make laser maps, you have seen the same recipe a dozen times: screenshot or export a map, trace it, then sort the pieces into layers by hand. It works. It is how most of us made our first one. But if you sell maps, every order is a new place, and that recipe runs again for every single one.
The short version
- The old way: export a map, trace or import it, clean it, split layers by hand, add a frame.
- It breaks on big cities, floating road pieces and too much data.
- A map designer starts from the place and builds the layers for you.
- MappSmith exports a file per layer, plus LightBurn, xTool and DXF files.
- Either way, test on cardboard first.
The old way, step by step
There are three common manual routes. All three end with you sorting layers by hand.
1. Styled map screenshots, then trace
- Style a web map so water, highways and arterials are flat colors.
- Export each feature as its own image without moving the map between exports.
- Image Trace each one in LightBurn or Illustrator.
- Color each layer, then build a frame by hand.
- Export SVG to your laser software.
One caution: a popular styled-map tool runs on Google Maps data, and its terms for commercial products are a separate question from OpenStreetMap's.
2. OpenStreetMap export, then Inkscape
Export an area from OpenStreetMap as SVG, open it in Inkscape ("may take a while"), ungroup and build layers. One maker's Manhattan export pulled in "the entire state of NJ": 146,696 objects, and ungrouping ran overnight.
3. GIS, then Inkscape
Pull just the streets with QGIS and the QuickOSM plugin, label them, export a simplified PDF, then sort big and little roads in Inkscape by hand. In the maker's own words, "quite a lot of manual labor."
What newcomers say
"I know HOW to cut them into layers but I have no idea how to make each layer or what to use. I was told GIS software but that doesn't help me a whole lot." That forum post is the whole problem in two sentences.
Where the old way breaks
- Too much data. Big cities export hundreds of thousands of objects.
- Floating pieces. A road layer on its own is "too floppy," and pieces at the edge become islands that fall out. The fix is to merge road ends into a frame.
- Tiny cuts. On-ramps and slivers thinner than your kerf burn away. Kerf runs about .008 to .040 in depending on process and material.
- Layer sorting. Every road and lake has to land on the right layer.
- Bigger than the bed. Splitting a map means intersecting it with rectangles and adding snap marks.
- No preview. You find out what it looks like after you cut and glue it.
For a one-off gift, that is fine. For a shop taking ten custom orders a week, it is the bottleneck. Nobody we found has published an honest hours-per-file figure, so time your own next one. That number is your real cost per map.
The map designer way
A map designer starts from the place, not from a picture of it. Here is how it works in MappSmith:
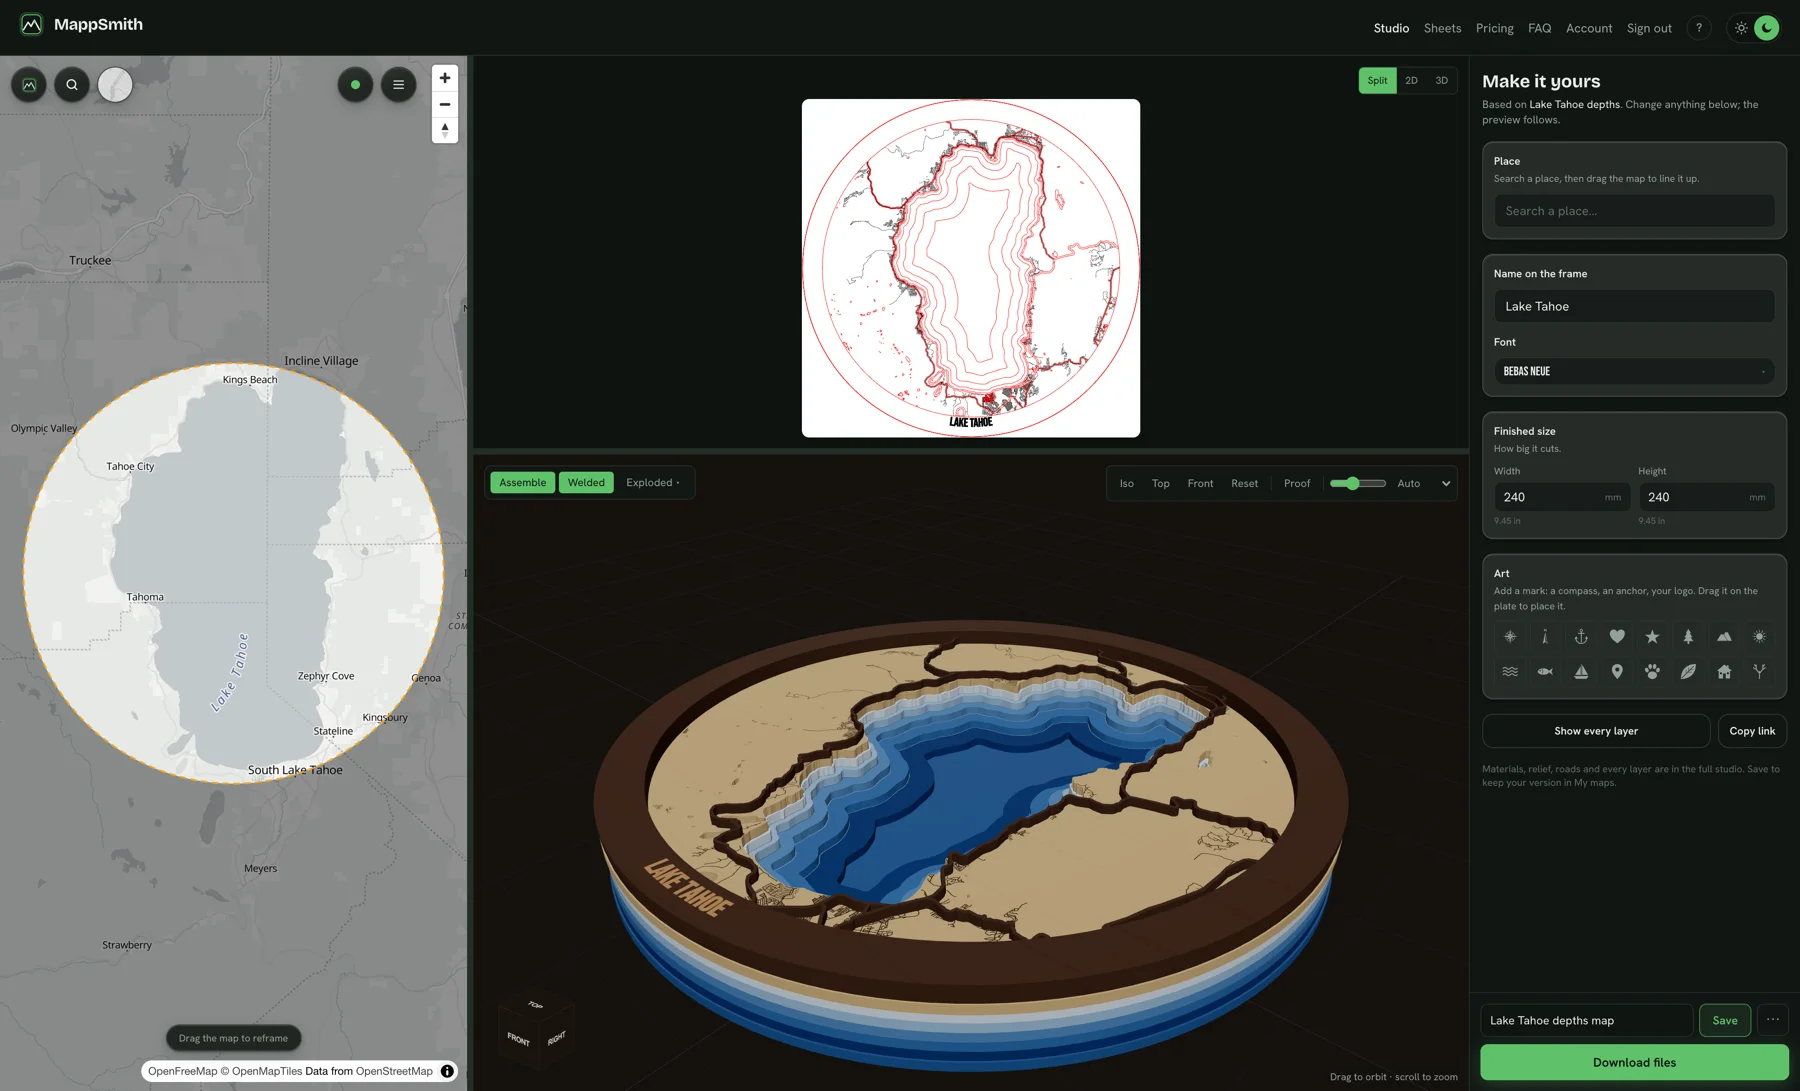
- Search the place. Any town, lake, mountain or address on Earth.
- Frame it. Circle, rectangle, heart and other shapes, or a US state outline.
- Pick a product. Layered, engraved only, ornament, love story, lake depths, golf course, coasters and more.
- Check the 3D preview. See it in real woods and acrylics, and explode the layers apart.
- Download. A layered SVG for each physical layer, plus native LightBurn (.lbrn2), xTool (.xs) and DXF files.
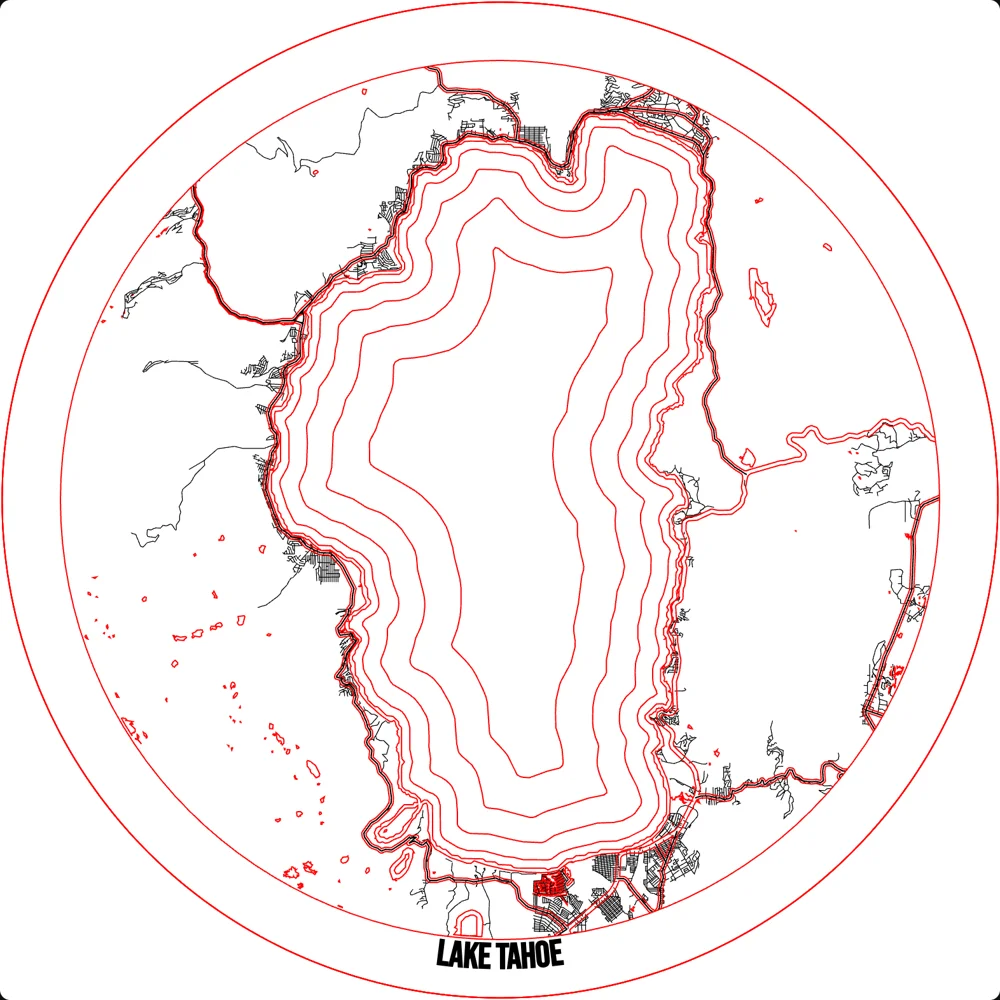
The street data comes from OpenStreetMap and is already vector, so there is nothing to trace. Elevation and lake depth surveys are split into levels for you. Cut, score and engrave sit on their own registered layers, and a frame band holds the streets so nothing floats.
Side by side
| Step | The old way | With a map designer |
|---|---|---|
| Get the map | Screenshot or export, often too much data | Search the place |
| Make it vector | Trace, or import and ungroup | Already vector |
| Split layers | Sort roads and water by hand | Built per product |
| Floating pieces | Merge into a frame by hand | Frame band holds the streets |
| Lake depth or terrain | Find survey data, trace each level | Split into levels |
| Preview | Cut it and see | 3D preview in real materials |
| Files | Export SVG, re-layer in your software | SVG per layer, LightBurn, xTool, DXF |
The full step-by-step build, with settings, is in the full walkthrough: how to make a laser cut map. For machine notes and presets, see map making for laser engravers.
What stays the same either way
- Test on cardboard or chipboard first. Makers dial in big maps this way before they touch good wood.
- Cut inner before outer. So pieces do not shift mid-job.
- Check your kerf. Cut a 1 in test square and measure it.
- Mask before you cut. Less char, less sanding.
- Credit the data. OpenStreetMap maps need "© OpenStreetMap contributors" on the listing and packaging. See map attribution.
Design still matters too: road hierarchy, water as the hero, no slivers. Designing maps that sell covers the rules.
When the old way still makes sense
Hand-built files are not wrong. They make sense when:
- You are making one map for yourself and enjoy the process.
- The art is not a map. A hand-drawn illustration or a stylized logo is still a tracing job.
- You need data no map source has, like a private trail or a property line from a survey.
If you sell maps, though, the question is simple: what does one custom file cost you? Time your next one from the first search to the file on the laser, including the cleanup and the re-cut when a piece falls out. Multiply by the custom orders you expect in November. That number decides whether you keep building files by hand.
Skip the tracing
Search a place, pick a product and download a file for every layer. Your next custom order starts with a search, not an overnight ungroup. 7 days free, then $12 a month or $99 a year for unlimited maps. Or grab 10 maps for $10.
Questions makers ask
How do you make a laser cut map?
Either export a map and trace it, then split layers by hand, or use a map designer like MappSmith that builds the layered files from a place search.
Can I export OpenStreetMap to SVG for a laser?
Yes, but big areas export huge files. One Manhattan export had 146,696 objects and took overnight to ungroup in Inkscape.
Why do my map pieces fall out?
Road pieces at the edge become islands. Merge road ends into an outer frame so every piece is held.
What file types does MappSmith export?
A layered SVG for each physical layer, plus native LightBurn (.lbrn2), xTool (.xs) and DXF files. They open in LightBurn, xTool Creative Space and Glowforge.
How do I make a map bigger than my laser bed?
Split it into tiles with snap or alignment marks, or quote it for a bigger machine.
Keep reading
Sources
- LightBurn city map tutorial (The Handyman's Daughter)
- Layered NYC map tutorial (Glowforge community)
- Bridge Street neighborhood map build (NYC Resistor)
- "GIS software or tips on making layered maps" (Glowforge community)
- Splitting a big Paris map (Glowforge community)
- Dialing in a London map on chipboard (Glowforge community)
- What is kerf in laser cutting (SendCutSend)
- OSMF attribution guidelines


