


Two makers can cut the same file and sell it for very different prices. The difference is the finish. These map finishing techniques come from makers who have done it: how to keep char off, stain water by depth, paint without warping, pour epoxy, glue without squeeze-out and keep every layer lined up.
The short version
- Mask before you cut. It keeps char off and saves the sanding.
- Stain water darker as it gets deeper. Test on scrap first.
- Paint water on MDF, not thin ply. Thin ply warps when painted on one side.
- Use glue sparingly, and align with keys, etched outlines or dowels.
- Stained water, epoxy and framing are upgrades. Price them that way.
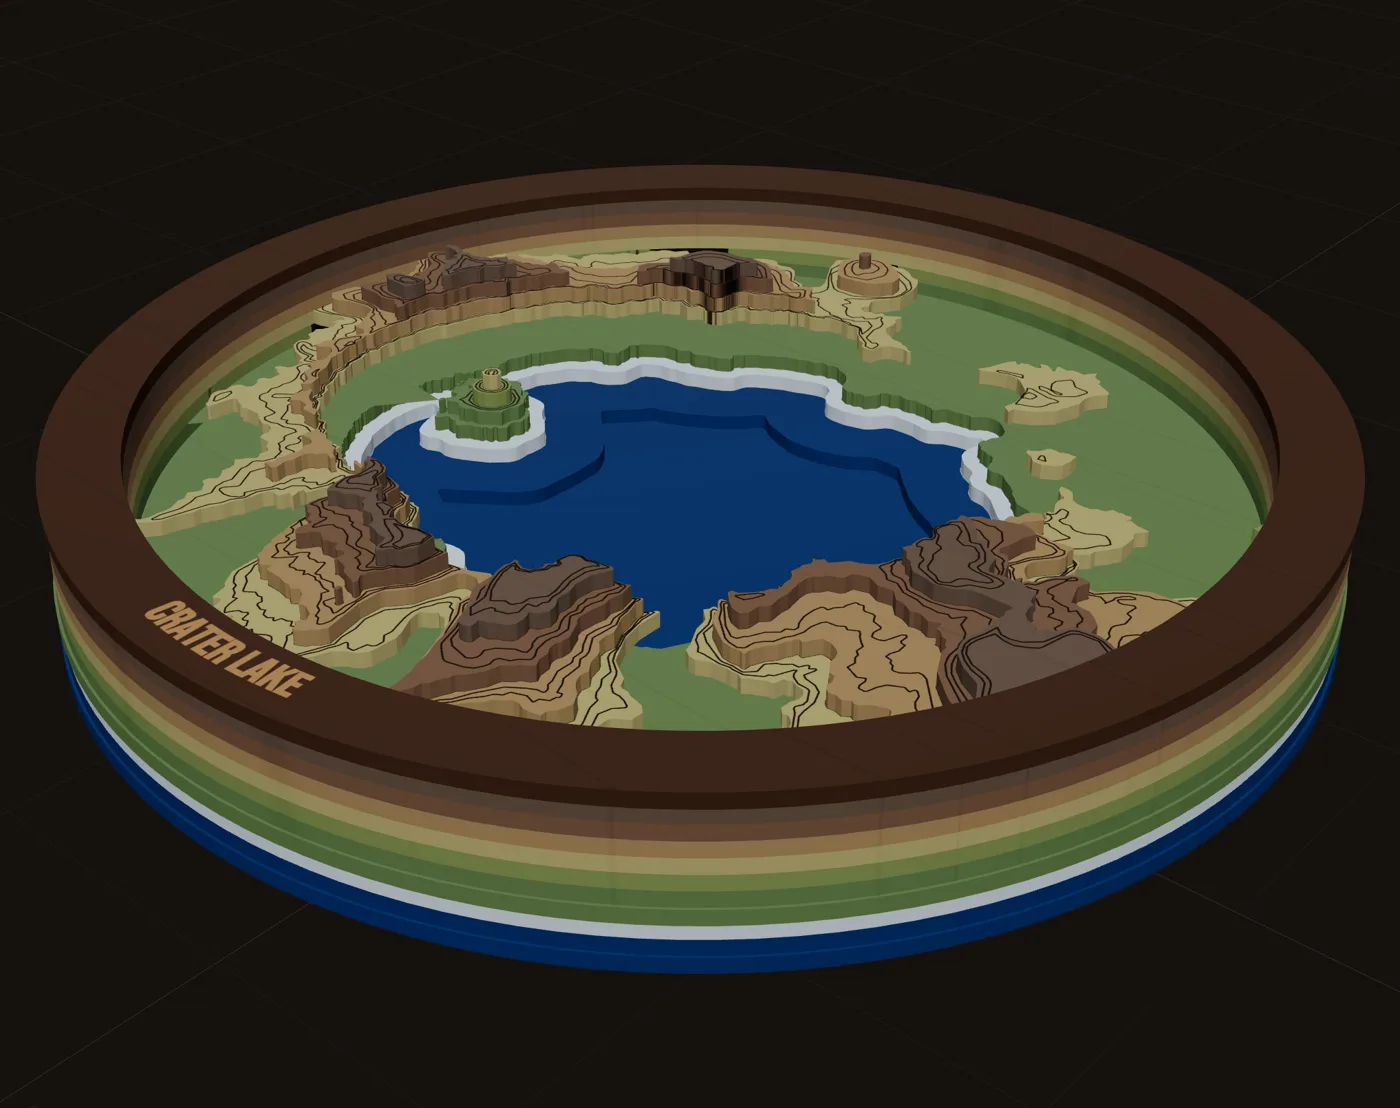
Before the cut: masking
Mask the land layer before you engrave and cut. It stops char on the face, so delicate street pieces need no sanding. Press the mask down firmly so it does not lift into the head. One maker's tip: a strip of duct tape pulls the leftover masking scraps off in one swipe.
If you skip masking, there are two schools. One guide sands with 150 grit to remove smoke staining. Another skips sanding on parts that will be painted: wipe the residue with rubbing alcohol, then prime. Primer "seals the wood and helps bond the paint."
Coloring water and depth
Stained depth
Use a water-based blue stain, diluted differently for each depth layer, darkest at the deepest. One maker used 1 part stain to 2 parts water as a starting mix. Test on scrap. You can always add color. You cannot take it away.
Painted water
For a painted water base, use 1/8 in MDF, because "thin plywood has a tendency to warp when painted on one side." Two coats of satin acrylic. If you finish raw plywood, spray it: brushing smears the soot.
Dye or stain
Forum advice, so treat it as experience, not rule:
- Pre-colored plywood runs about $15 to $16 a sheet, which is why many makers dye their own.
- BB-grade ply takes stain fairly evenly. Cheaper ply is hit and miss.
- Dye shows more grain than stain. Water-based dye raises the grain. Alcohol-based dye shows lap marks.
- Factory-finished sheets can block stain, so stain those after cutting.
Contrasting woods
Skip the color entirely and let the species do it: maple over a cherry backer, or maple top layers over cheaper plywood to suggest depth. MappSmith's 3D preview shows each layer in its material, so you can try the combination before you buy the wood.
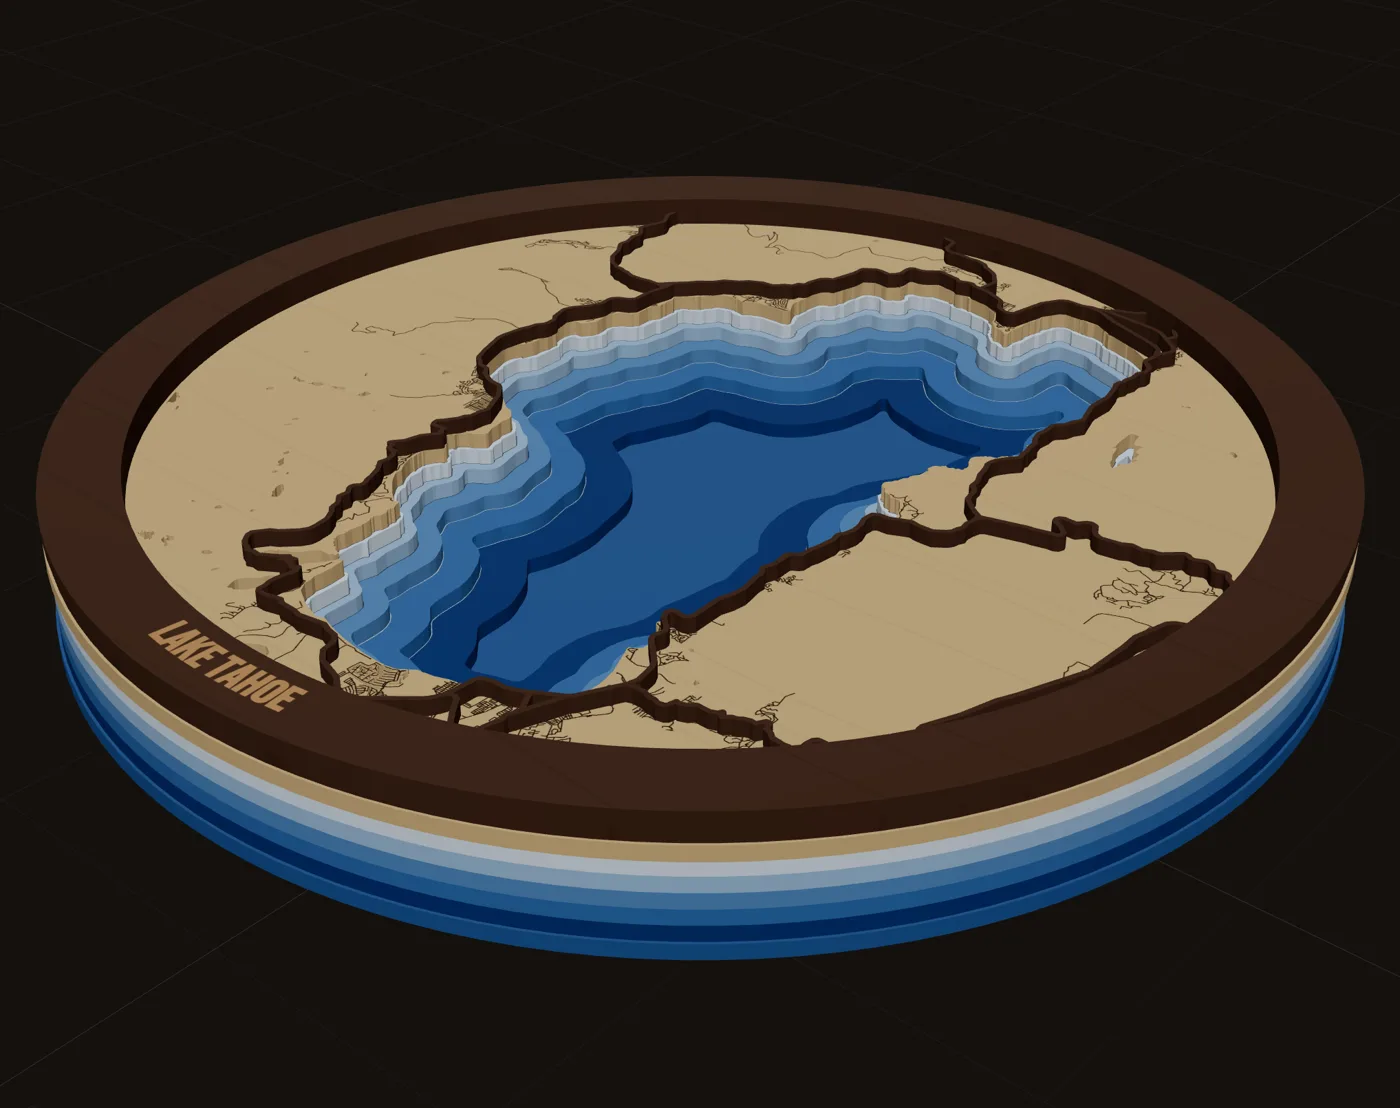
For depth maps, the hard part is the data, not the paint. Lake depth maps explained covers how the levels are built.
Epoxy water
Epoxy turns water into the hero. One build filled laser-etched waterways with blue pigment in two-part epoxy, then through-cut and backlit them with LED strips. Wood and epoxy map gifts are an established product.
River-table guidance is a useful baseline for pours: no more than 2 in per layer, about 6 hours of working time and 48 to 72 hours to cure. Map pours are much thinner, so follow your resin's data sheet, but plan the cure time into your lead time.
Glue-up without the mess
- Thick CA in dots on wide intersections and the frame, so it does not drip.
- Double-sided adhesive applied to the board before you cut. Cleaner still.
- Yellow wood glue brushed on the back, away from cutouts, under weights with wax paper between.
- Go light on clamps. As one maker put it, "clamps squeeze out more glue than you think."
Keeping layers aligned
- Built-in keys between layers.
- Etch the outline of the next layer onto the one below it.
- Dowel holes stop layers rotating under clamps.
- Dry-stack first. Every time.
A file built with registered layers helps here. In MappSmith, cut, score and engrave sit on their own registered layers and every physical layer is its own file, so the stack lines up the way it was designed.
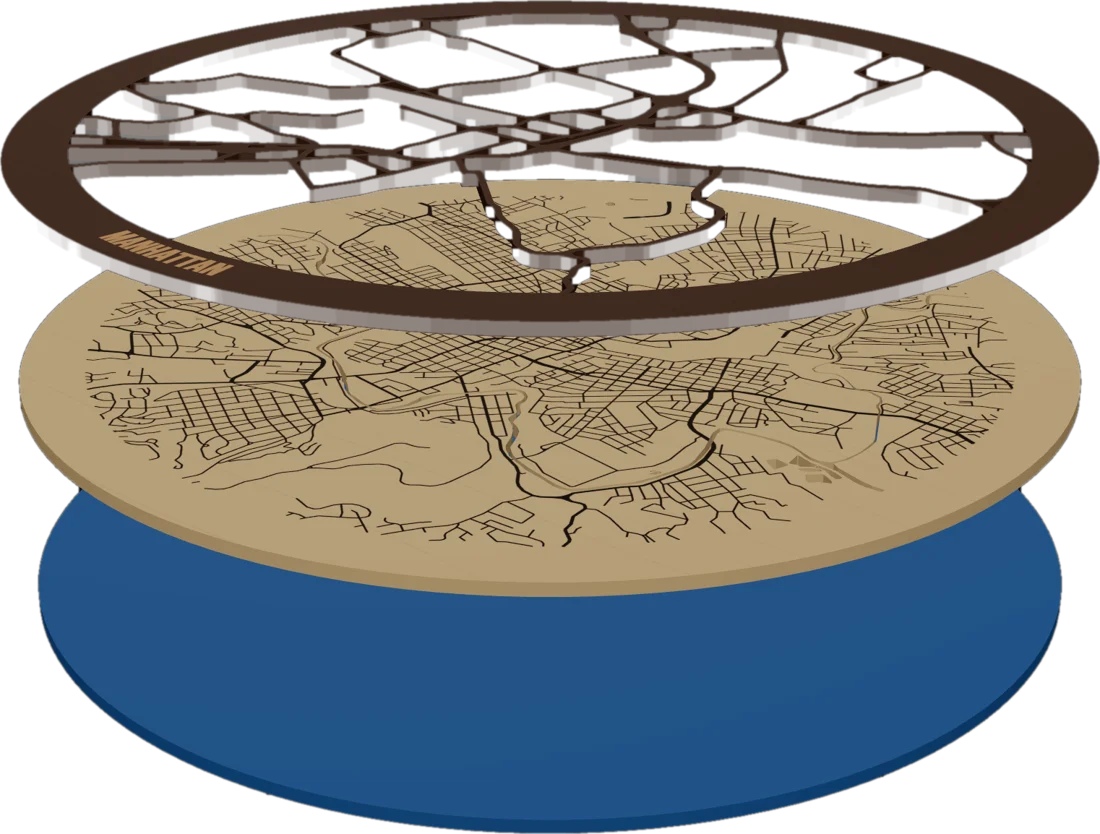
Frames, light and acrylic
- Frames hide edges. One maker found a cheap black metal frame "hides the imperfect edges." Another sells in a solid pine frame with an acrylic front.
- Edge-lit acrylic. Engrave the back of the acrylic with the design mirrored and set it in an LED base. Cheap bases run about $10.
- Mirror acrylic overlays on clear acrylic, with inlays sized for kerf.
A street map paired with an edge-lit acrylic piece makes a strong gift set, especially for couples.
A finishing order that works
Putting the techniques above in sequence:
- Test the stack on cardboard before you cut good wood.
- Mask the faces that show.
- Cut and engrave, inner cuts before outer.
- Clean up. Peel the mask, or wipe residue and prime parts you will paint.
- Color water and depth layers, testing every mix on scrap first.
- Dry-stack to check alignment and color before any glue goes on.
- Glue up sparingly, under weights, with wax paper between.
- Pour epoxy if the design uses it, and let it cure fully.
- Frame, and engrave the map credit on the back.
Which finishes to charge for
| Finish | Charge extra? | Why |
|---|---|---|
| Masking | No | It is part of doing it right. |
| Stained depth layers | Yes | Hand work per layer. One lake map prices by it. |
| Painted water base | Usually included | It is the base of most layered maps. |
| Contrasting woods | Yes | Better material, visible difference. |
| Epoxy water | Yes | Material, pour time and cure time. |
| Frame with acrylic front | Yes | Finished wall art, more shipping cost. |
| Edge-lit acrylic | Yes, as an add-on | A second product. |
Every technique here, with more detail on each step, is in the full walkthrough on premium map finishing.
See the finish before you cut
MappSmith previews your map in 3D in real woods and acrylics, layer by layer, so you can pick the stain and the stack before you buy the wood. 7 days free, then $12 a month or $99 a year for unlimited maps. Or grab 10 maps for $10.
Questions makers ask
How do I paint water on a laser cut map without warping?
Paint on 1/8 in MDF rather than thin plywood, which tends to warp when painted on one side. Two coats of satin acrylic.
Should I use stain or dye on laser plywood?
Both work. Makers report dye shows more grain, water-based dye raises the grain and alcohol-based dye can show lap marks. Test on scrap.
How do I keep layered maps aligned when gluing?
Use keys, etch the next layer's outline onto the one below, or add dowel holes. Always dry-stack before gluing.
How do I get rid of smoke marks on laser-cut wood?
Mask before cutting. Otherwise sand with 150 grit, or wipe with rubbing alcohol and prime if the part will be painted.
How do I make an epoxy lake map?
Fill etched water with pigmented two-part epoxy, then finish and cut. Plan for the resin's full cure time in your lead time.
Keep reading
Sources
- LightBurn city map tutorial (The Handyman's Daughter)
- A hobbyist's topo map build, costs and time (The Shamblog)
- Try this: a laser lake relief map (Graphics Pro)
- Laser-safe wood dyes and stains (Glowforge community)
- Painting or staining wood before cutting (Glowforge community)
- Bathymetric map of Lake Murray (Glowforge community)
- New House Ornament, maple over cherry (Cuttle)
- Illuminated epoxy waterways map (HackSpace)
- River table pour guidance (Epodex)
- Alignment keys between layers (MIT DDF)
- 3D relief map with dowel alignment (Glowforge community)
- Edge-lit acrylic builds (Glowforge community)
- Lake map listing from $179.95, four sizes, ships framed


